As part of their unit on minibeasts, students in grades 1 and 2 are creating all sorts of crazy critters in the art room! Last week we used coloured plasticine to create 3D models of minibeasts. Bees, spiders, scorpions, butterflies, ladybugs, caterpillars and snails were all popular choices amongst students. Students were given a short demonstration on how to create and use 3D shapes to the form the body and head of their minibeast. Students also learned how to create eyes and used matchsticks and pipe cleaners to add legs and antennae to their minibeast.
Some of them looked so life-like that I was a little scared by the spiders! Well done grade 1 and 2!
22 February, 2015
Mosaic Hearts
As a celebration of Valentine’s Day, students in
grades 3 and 4 created these beautiful mosaic hearts! Students learned a brief history of mosaics and
discussed the mosaic art they have seen around Kerrimuir. We discussed
geometric shapes and looked at ways to decorate our work using shape, colour
and pattern. Students learned how to create a symmetrical heart by drawing half
of a heart shape and cutting it out from a folded piece of paper. They then cut
small geometric shapes from coloured and decorative papers. We just LOVE the
results!
Paper Plate Birds
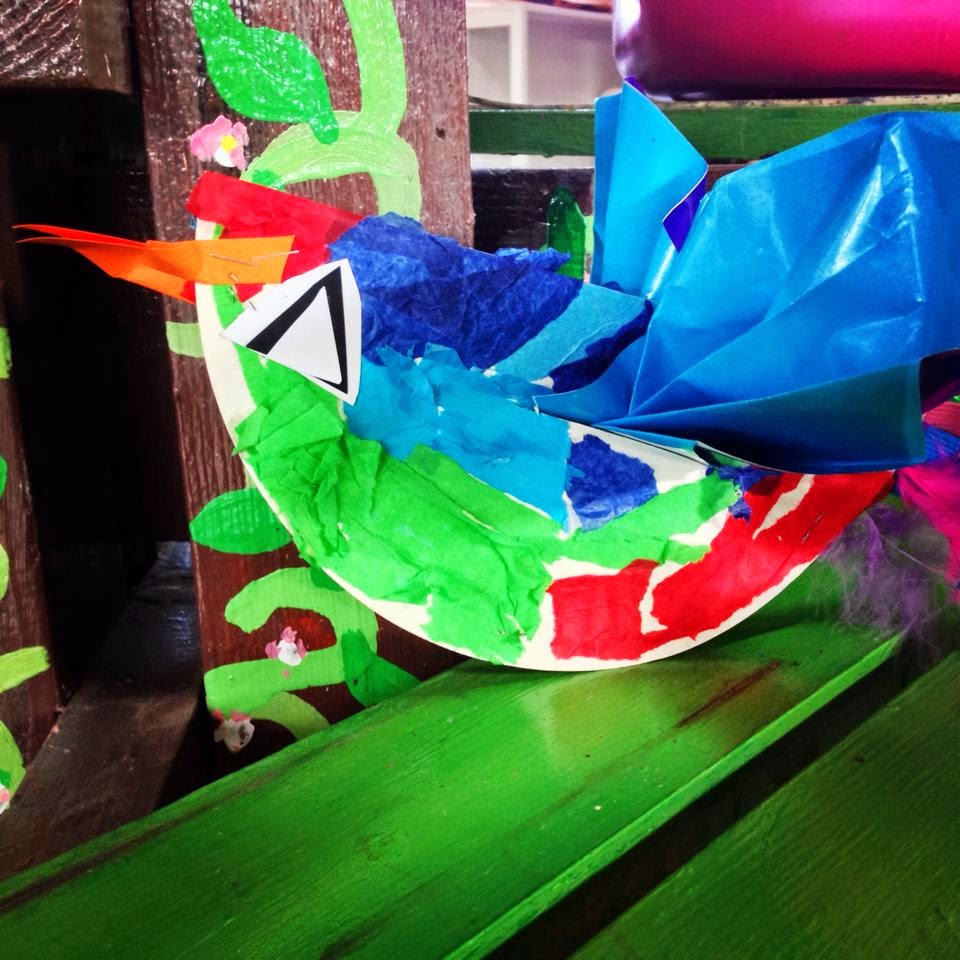
Last year's Prep students spent most of term 4 learning all about how to create art with paper. Students learned skills with paper such as fringe cutting, paper curling, fan-folding, collage and construction techniques. Students then put all of their learning into practice and created these colourful paper plate birds!
Students began this project by covering a large paper plate with small pieces of coloured tissue paper, creating a collaged effect for the body of the bird. The plate was then folded in half and stapled together. Students added features such as a triangular beak, three-part eyes, curly tail, and fan-fold wings. This was a fantastic project that utilised a wide range of skills with cutting, sticking, folding and construction.
Students began this project by covering a large paper plate with small pieces of coloured tissue paper, creating a collaged effect for the body of the bird. The plate was then folded in half and stapled together. Students added features such as a triangular beak, three-part eyes, curly tail, and fan-fold wings. This was a fantastic project that utilised a wide range of skills with cutting, sticking, folding and construction.
Comets!
If you remember our outer space display from last year, then you will recognise these amazing comets! Students in grades 3 and 4 used polystyrene balls, coloured tissue paper, wire and pipe cleaners to construct these works of art that certainly do resemble a comet flying through outer space!
Students began this project by covering a polystyrene ball with small pieces of coloured tissue, creating a collaged effect. Students then manipulated wire and pipe cleaners to create the comet's tail, and added laser shred to make it even more sparkly. We think they look fantastic!
Students began this project by covering a polystyrene ball with small pieces of coloured tissue, creating a collaged effect. Students then manipulated wire and pipe cleaners to create the comet's tail, and added laser shred to make it even more sparkly. We think they look fantastic!
Klimt's Tree of Life
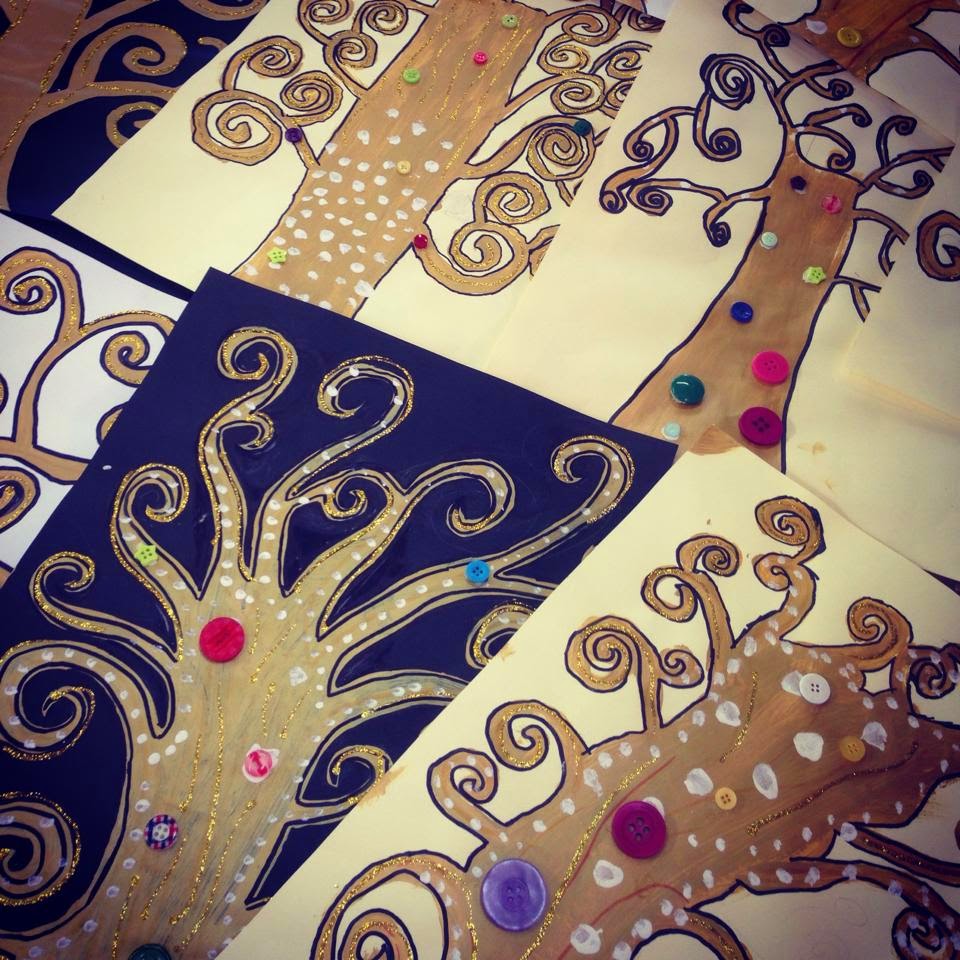
Students in last year's grade 5 classes learned all about the art of Gustav Klimt, a famous Austrian artist, well known for his stunning paintings and use of a material known as 'gold leaf' in his artworks. We studied his paintings and murals from his 'golden phase', in particular his Tree of Life series. Students were very keen to learn about such a talented and prominent artist.
Students began this project by sketching a tree with swirly branches onto black, white or cream coloured paper. Students then painted their tree with metallic gold paint and added highlights of white paint. Once dry, students gave their tree a bold outline using black markers, and added colourful buttons and and gold glitter to reflect Klimt's style.
The results are these shimmering trees, just like Gustav Klimt!

Subscribe to:
Comments (Atom)


